
More Than One Way to Skin a House
- Kimi BrownKawa

- Nov 15, 2023
- 6 min read
Another autumn, another chance to get warm weather tasks done before the first freeze, which comes some time in October. In September of 2021 we got the shotcrete on the tire bale exterior walls. In September and the first days of October in 2022 we lime plastered the upper exterior earthbag walls. This year we needed to get the exterior plaster done on the front stick-built wall, to finish our exterior work so we could focus on interior work in the winter. That had also been our plan for the last two winters, but this year it looked to actually be within our grasp.
First we had to rip off the Tyvek house wrap that we had put up in 2021, when we originally imagined we would do the front plaster! Such a waste, but at least the paper protected the OSB somewhat through two winters. We also used the scraps as tarps to protect our piles of sand and clay for construction.
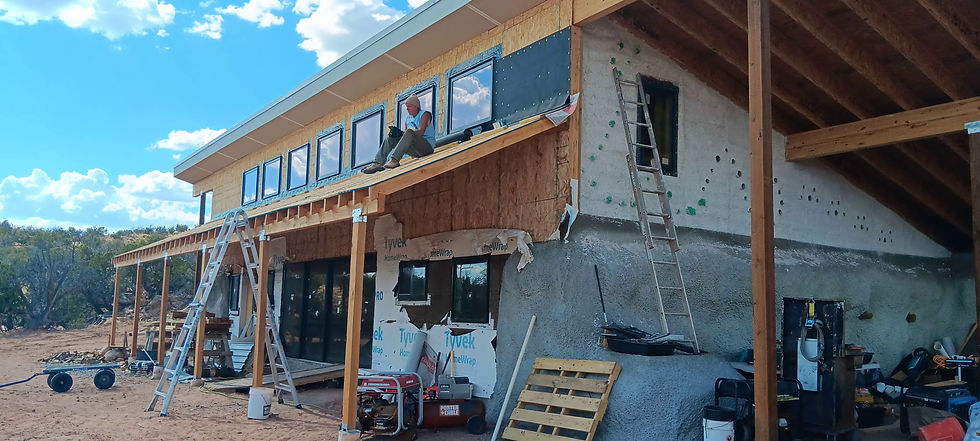
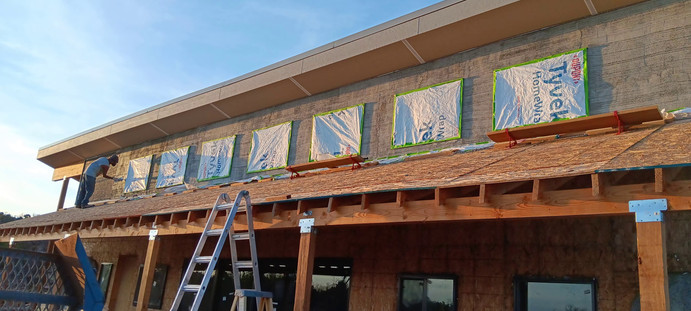
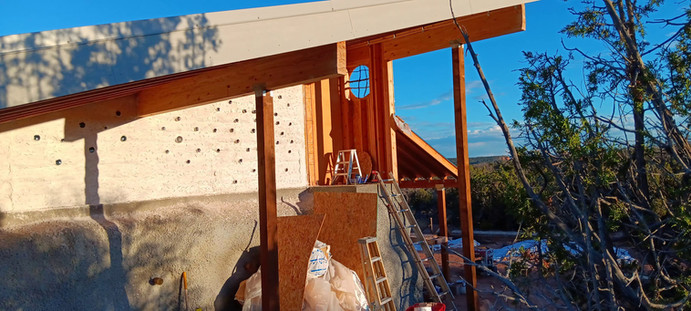
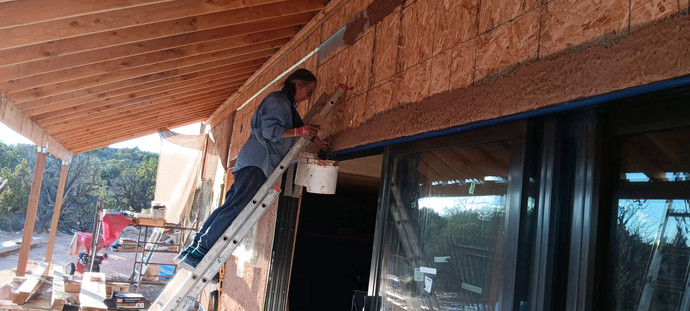
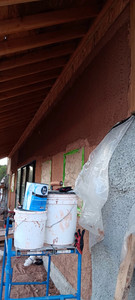
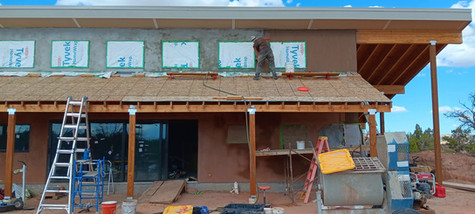
With advice from our mentors, we decided to do a conventional cement-lime stucco above the porch where it would get the most exposure to the elements. Our upper roof overhang is optimized for passive solar shade in summer and solar exposure in winter, and isn't adequate to protect earthen plaster. My balance and vision issues keep me off of the roof, so Chip was on his own for that job. He installed drip edges above the windows and made sure all the flashing was in place, re-papered the wall with roofing felt, and attached expanded metal lath, stucco edging and weep screed. He also installed the top edge of the roofing paper and the roof flashing. Finally, he attached a couple of roof jacks to hold stucco buckets and tools. He's a mountain goat and preferred just walking on the roof rather than attaching any bracing or steps for himself. We wanted to stucco before installing the metal roof for Chip's safety, and also to keep dropped stucco off of the new roof.


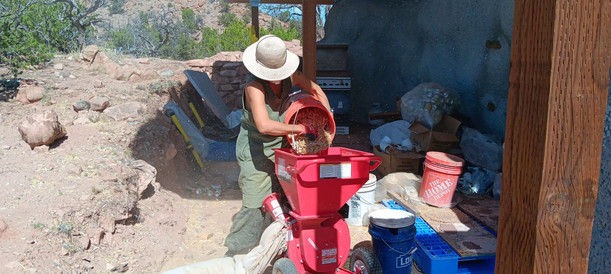
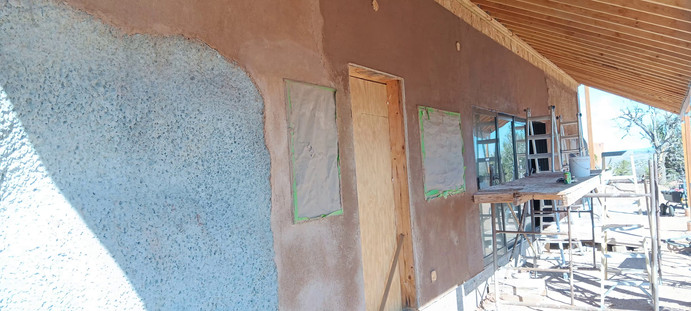
Meanwhile, I was back to the mud pie boards to find a clay mix for the wall under the porch. Yes, I know, I had tested ad nauseum in previous years, and finally had determined a number of good clay mixes using the fill dirt from our local concrete supplier. The only problem was that in 2023 there was no more of the fill dirt that I had tested, and the new fill dirt was somewhat sandier. So it was back to testing. And testing. And testing. We went to New Mexico Earth Adobes to buy some of their adobe mix. I tried reinforcing the mixes with lime and egg white. I tried frescoing the pale lime plasters with scoria powder. I finally decided on a dirt-straw mix for the wall using the fill dirt, so I started screening dirt and chopping straw. We will likely use the adobe mix for some of our floors. I also removed the old paper from the walls and taped off the windows to prepare for plastering.


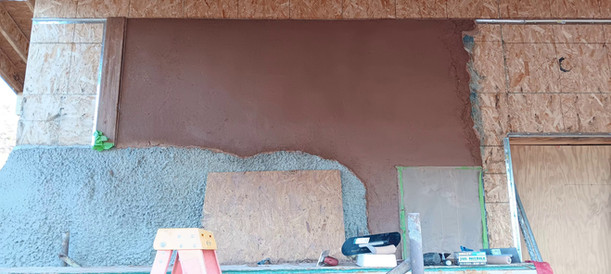
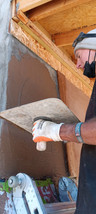
With prep finished, the day finally came when it was time to start the stucco scratch coat! We have never stuccoed before, and with the cementitious material we would be working against the clock. And when I say "we," I mean Chip. He got the whole face done in one day!


The next layer to go on was the "brown coat." This also would ideally go on in one day, but part way through we realized that several of our bags of material were the wrong type, so Chip had to stop until we could get in town to exchange those bags. But a few days later he got her done! Our friend Greg came over to help us keep the mixer going while Chip applied so we could keep things moving.


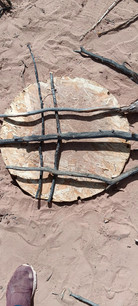
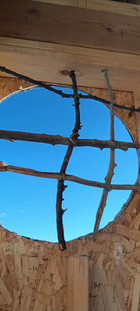
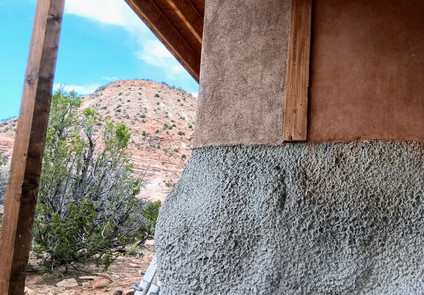
We played with designs to put stick mullions in our open porch window on the little deck that opens off of the indoor loft. We drilled holes in the frame and inset the sticks for Chip to stucco around. The window frames a view of the Zuni Mountains.


We finally started our clay job. The first section went on easily, and looked great...


...until it dried!! Salts came to the surface, and several cracks formed. We decided to do the rest of the wall in two coats so that the thinner layers would be less likely to crack when drying. From what I could find online, it sounded like the salts would also be less likely to precipitate with faster drying. I just tried not to look at this first section while continuing with the rest of the wall.
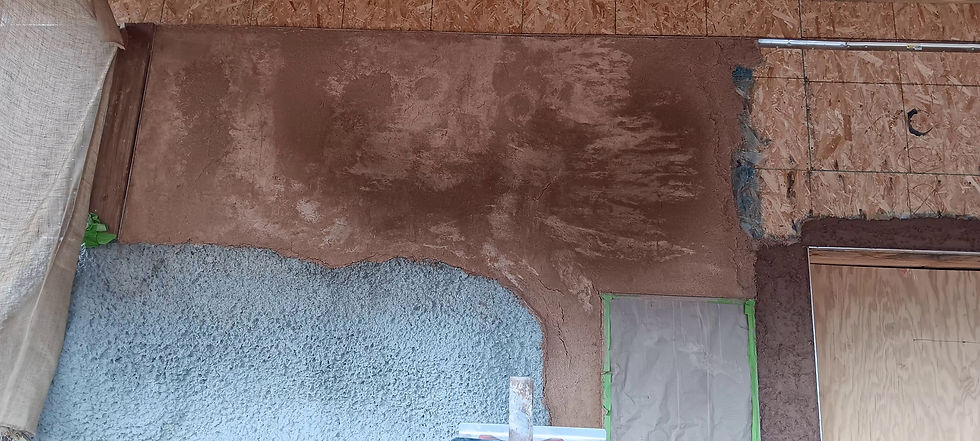
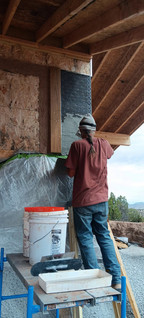
This first earth plastering job was on the OSB sheathing -- not the most traditional way to earth plaster a house. We followed our mentor's advice and coated the OSB with concrete bonding cement (the blue), plastering into it while it was still wet. We embedded fiberglass lath in the clay along the metal stucco edging and around the aluminum window frames for extra reinforcement. Most of the doors and windows protrude an inch beyond the OSB; we plastered out to that level. The exception was the long sliding door which is recessed behind the OSB. In that area we used expanded metal lath to form a bullnose. I did all of that fussy work around the edges before going back and filling in the broad swaths of plain OSB. I left this layer textured with finger pokes to help the second coat adhere.


While I worked on the clay, Chip prepared the next section of wall for stucco. After the brown coat on the face was finished, my brother and his family visited for five days. They were a huge help, working around home and getting us out to have some fun too. Ross (my architect brother) helped us puzzle through some things, and by the time he left we had a plan for a box channel just under the porch roof for kitchen and bathroom vents, and decided to wrap the stucco around the sides and back of the wall for more of a monolithic look. We also brought it down under the roof to the shotcrete to keep the clay well inside the eventually-closed-in porch for better weather protection, with a stucco margin. So Chip went through all of the steps to make that happen... felt, edge trims, expanded metal lath... then he applied the scratch and brown coats.


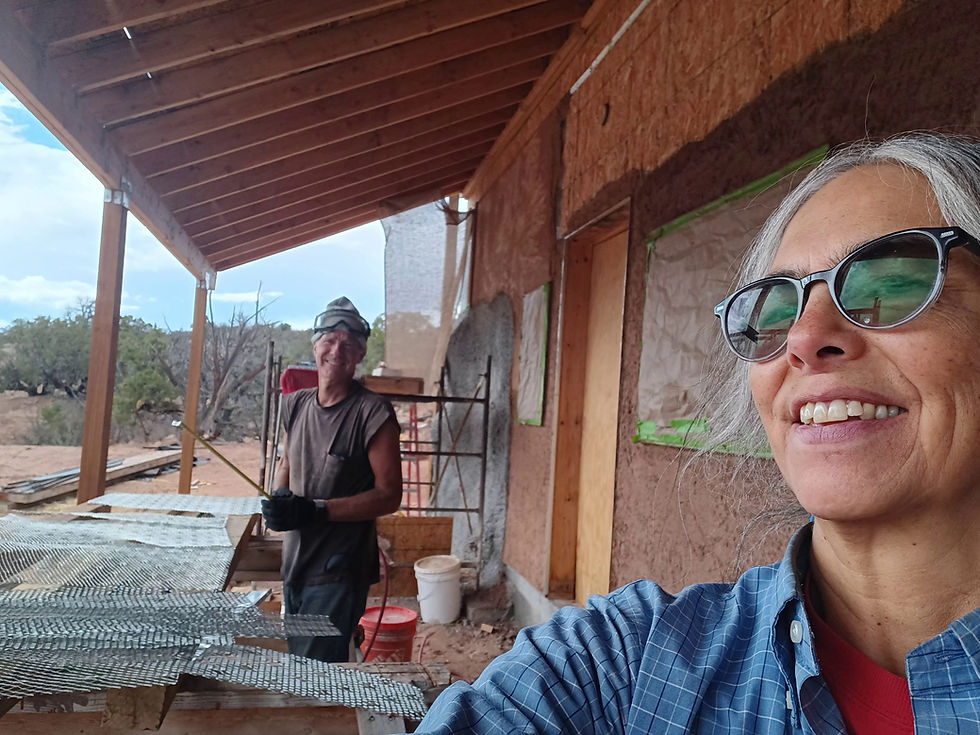
Here we are at parallel play: Chip working on stucco while I work on clay, the upstairs / downstairs team!
After the stucco brown coat was complete, we had to wait to let it cure for ten days before applying the color coat. So Chip was available to help me finish up the second coat of clay. The clay requires a longer cure before the first freeze, which was looming, so we pushed to get it done.


We were pleased with the job overall. The bullnoses were pretty cool. But the salt bloomed in some areas with a vengeance!
We aren't sure whether the salt is coming from the dirt or from the water. We will need to get some testing done. I did some playing around and found that I could paint over the areas with a thin clay slip to repair the color. Luckily the slip dries without efflorescing.
Chip applied the stucco color coat while I went over the clay to add to the low areas, and paint over the salty areas. We ended up running out of stucco color coat before the day was through, and had to finish the last bit the next day.


All in all, our work was not perfect, but we are pretty pleased with the results -- not bad for first timers! We think the house colors are a pretty good match for our mesa in the background.


With the stucco completed, we were able to finish the roof. Chip attached the front fascia boards and drip edge, and put on the requisite layers of underlayment. We then lifted one panel at a time onto the scaffold, and then up in place, sliding it under the wall-to-roof metal flashing. Chip climbed up and put in most of the screws, while I held the bottom and put in the screws I could reach from the scaffold. Then Chip attached the fascia along the sides. We still need to paint those to match the roof, add the metal drip edges on the ends, and install a gutter.


Finally our house is now solidly protected. The exterior shell is robust and ready for occupancy permit, so we can turn our attention to getting the interior done!
Sure, one day we wll put a color coat on the upper lime plaster, and we can add a new color coat to the stucco if we feel the need. We have already tested a rich and robust brown color coat with clay, sand, charcoal, scoria dust, and egg whites for a nicer finish on the earthen plaster. And maybe we'll eventually lime plaster the shotcrete bales to smooth that finish. But as our inspector says, "That's all just aesthetics..." It can wait until after we have our occupancy permit.
So that's the skinny:
shotcrete, lime plaster, cement/lime stucco,
clay/straw plaster, and metal!


This project is a powerful example of patience, planning, and true craftsmanship. From careful seasonal timing to hands-on experimentation with materials, every step reflects dedication to building something lasting and meaningful. The balance between traditional methods and practical solutions is inspiring, especially the teamwork and perseverance through challenges. Stories like this highlight how quality construction is more than materials—it’s knowledge, effort, and vision. Homeowners seeking similar long-term results should work with skilled window contractors in Montreal who value durability, climate resilience, and thoughtful design.
Looking tremendous! Congratulations on the progress.